For a long time, Id wanted to make a screenshot like the following image, and I finally found plugin can help me, GIMP Tear-off plugin.
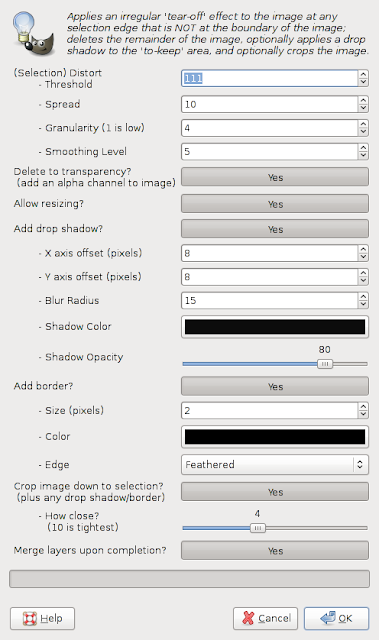
Some blogs use this style of screenshot, jagged edges like a piece of papar torn off into two parts. You can doiit manually in GIMP to achieve the same effect, but that takes time. With Tear-off, its only a few clicks in the dialog as shown as follows.
To use this plugin, the only thing you really need to do is selecting the area you want to keep. Tear-off keeps selection and processes non-selected area to add jagged edges around the selection. You can choose how ragged the edge you want, add shadow and border. With little manipulation, you can have some highlighting effect like the following image.
The selection doesnt have to be rectangle as you can see from the image above. I used Tear-off twice and with brightness and contrast adjust plus mask editing for the fade-out effect at top and bottom of image. That makes the important part very stand-out and also keeps some context around selection.
Ive used Tear-off for screenshots for my posts. Next example uses first tear-off to highlight two rows, then second one to cut off unwanted rows between wanted area and the bottom row. I wanted to preserve the information in bottom row but not to highlight it since its not the primary focus.
If you have a screenshot is very long and you only need top and bottom area, here is how you do it. Select unwanted area, then inverse selection, apply tear-off, lastly, the zealous crop to compress the image. You will get a compact image like the following one.
The version of Tear-off I use is 0.2, more than two years old, for GIMP 2.6. The latest GIMP version is 2.8, I dont know if this plugin works in GIMP 2.8. Its licensed under the GPLv3, anyone can fix or improve this plugin.


